


All materials used for this new planter were sourced from my trash bin. You will need a plastic bottle, strips of cotton material, and a soldering iron for burning holes into the bottle, but more on that later. If you live in rural Indonesia like me, or in comparable geography, you can MacGyver it using a large steel nail heated over a flame. A quick note on plastic: look on the bottom of your bottle. If you see a “1″ that means it’s BPA-free and safe for food plants that you can eat later.
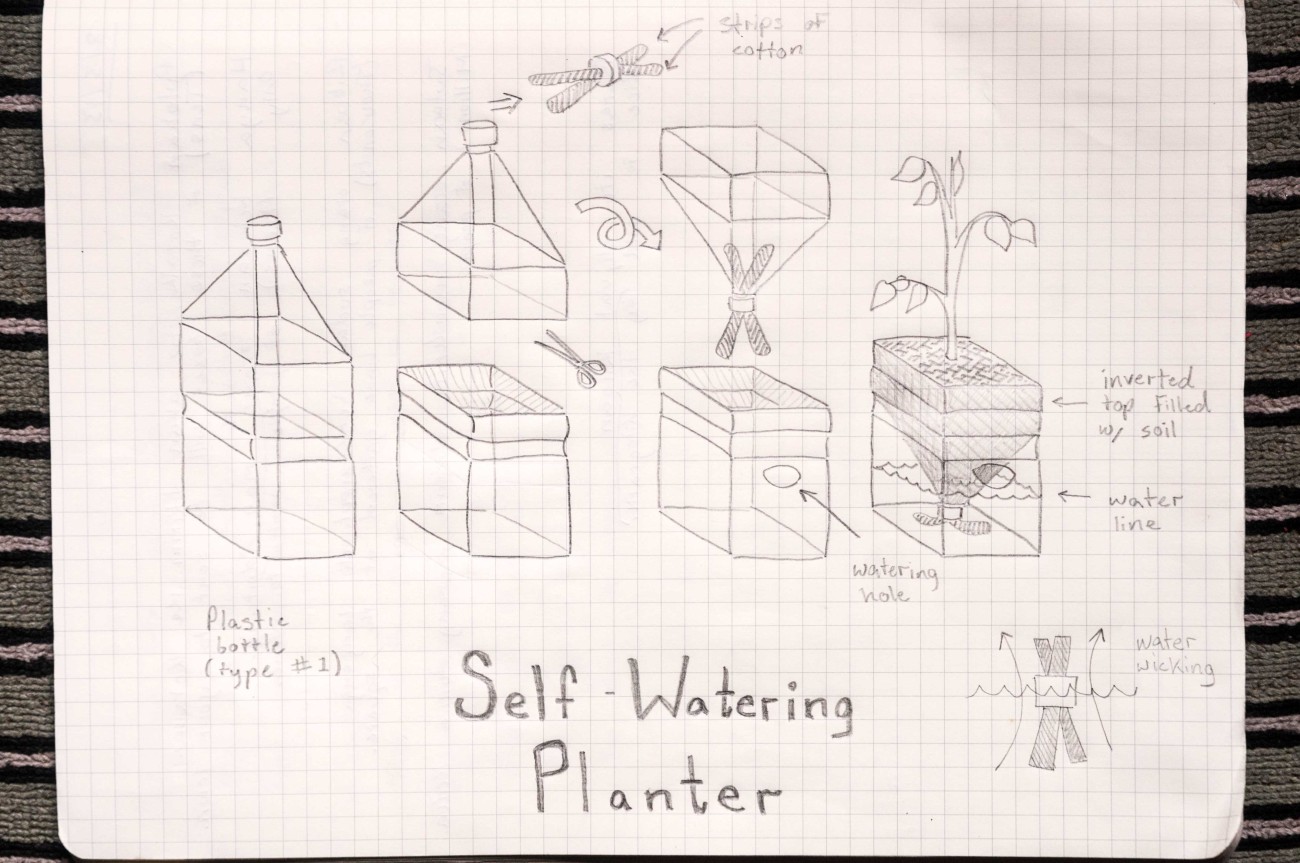
Check out the photos below for a step-by-step guide to making your own 100% up-cycled, self-watering planter.
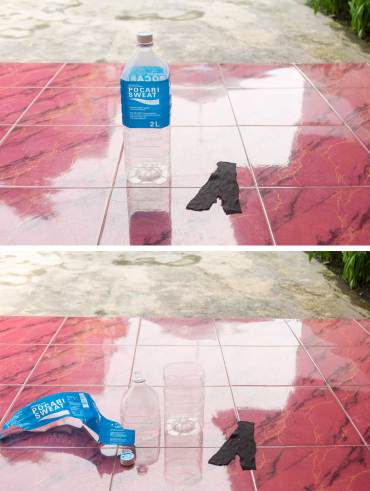
You will need a plastic bottle, cap, and two strips of cotton material about 6 inches long. First, remove the label and cut the bottle in half.
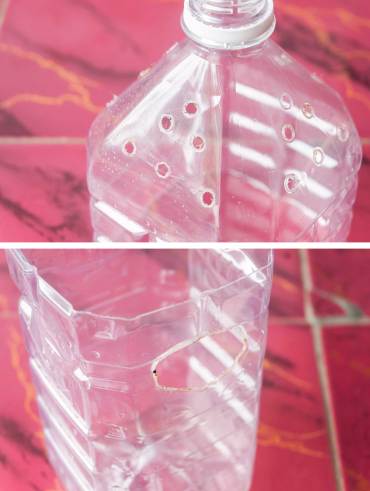
Next burn some drainage holes into the upper half of the bottle and one large “watering hole” into the bottom half.

Now burn a hole into the bottle cap. Pull the cotton strips through the cap.
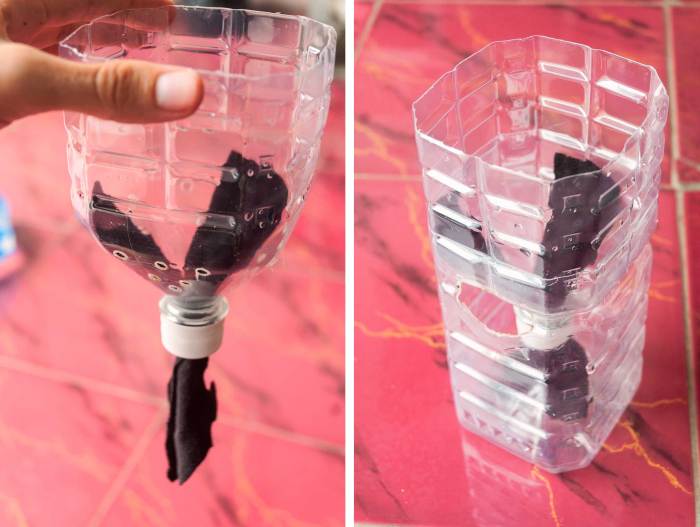
Screw the cap back onto the upper half of the bottle, invert it, and replace it into the bottom half.
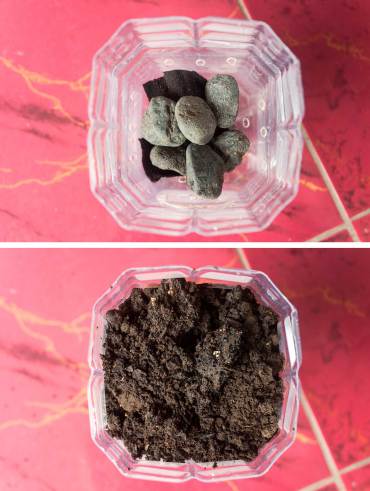
For drainage place a few rocks in your planter before adding a layer of soil. Now you’re ready for planting.
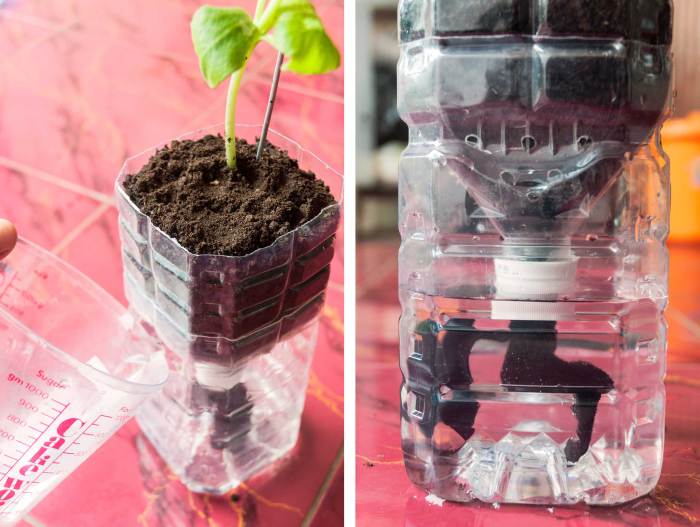
Once your plant is comfortable in its new home water it by pouring water through the watering hole. Notice the water line should be at least as high as the bottle cap.
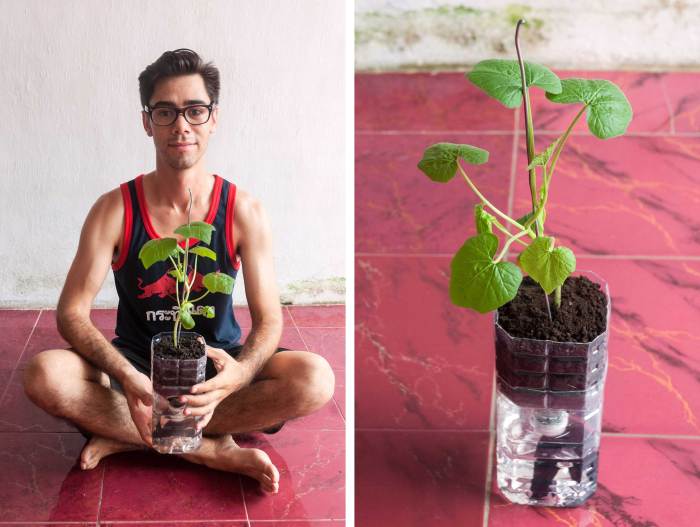
And there you have it, folks, your very own self-watering planter made from 100% up-cycled materials!
This post is also available in: Indonesian